
The Ultimate Kitchen & Oven Cleaning Guide: Baked-On Grease Be Gone
By Sameer, Bond Cleaning Brisbane·
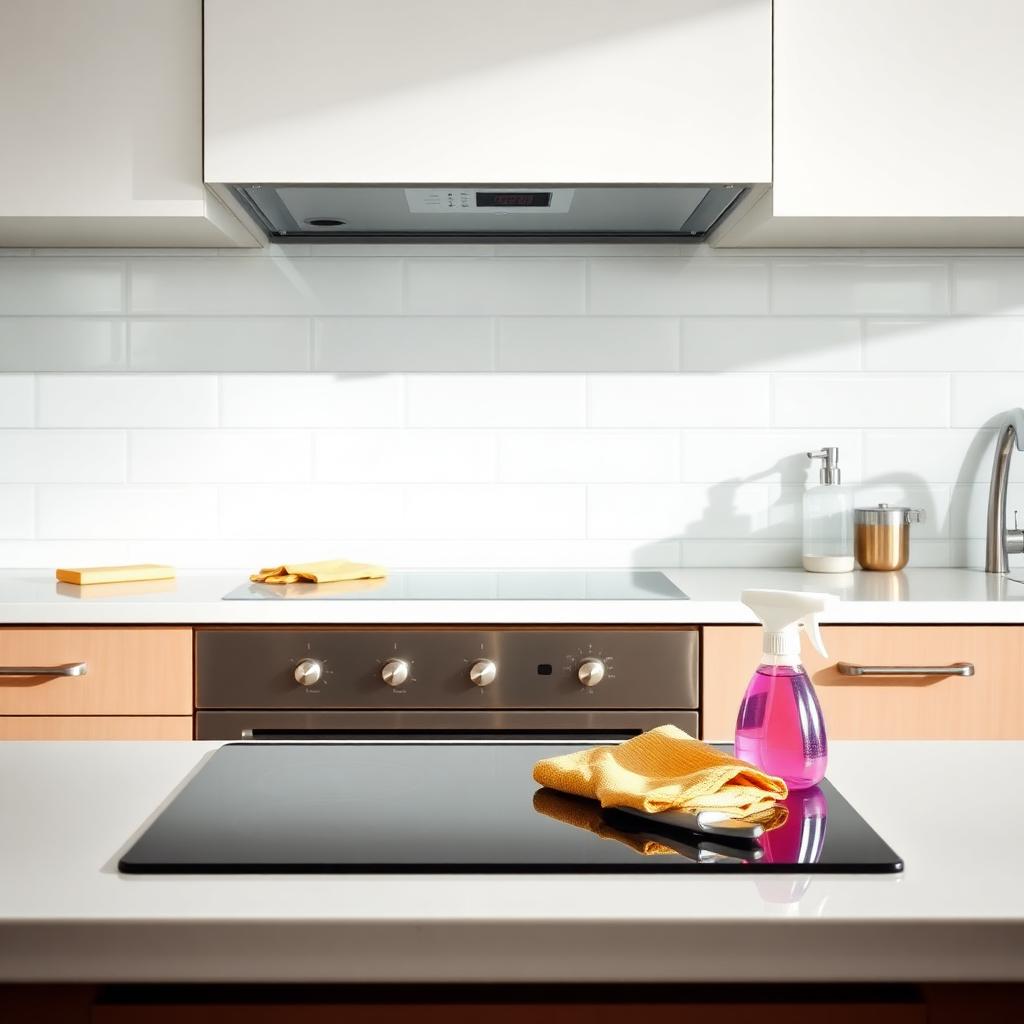
There is a satisfaction in walking into a new, clean kitchen. It is the room where morning coffees are brewed, family meals come together, and evening chats happen over stirring pots. But let us be honest: nothing kills that warm, welcoming feeling quite like opening an oven door to reveal layers of burnt-on spillages or running a hand near the range hood only to feel a thin layer of sticky, amber film.
If you have ever sprayed an entire can of store-bought degreaser, held your breath through the stinging chemical fumes, and scrubbed until your arms ached—only to find the black carbon spots barely budged—you are not alone. Most of us have been there.
The good news is that restoring your cooking space back to a clean, hygienic standard does not require toxic fumes or hours of physical exhaustion. Once you understand why grease gets so stubborn, a simple, methodical approach using everyday ingredients can do the heavy lifting for you.
## Why Is Baked-On Grease So Hard to Remove?
It helps to know what you are actually fighting against. Fresh oil splatters from last night’s roast are easy enough to wipe away with warm water and soap. However, when those microscopic oil droplets sit on your oven walls or cooktop and get blasted with high heat during the next meal, a chemical process takes place.
The fats break down, combine, and harden into a varnish-like layer. With every subsequent bake or roast, that soft oil layer cooks deeper into the surface, bonding with fine dust and food debris. Before long, it turns into a thick, dark coat of hardened carbon.
Regular liquid kitchen sprays simply bounce off this tough outer shell. They cannot penetrate it without three key factors: the right alkaline balance, a bit of moisture, and plenty of dwell time.
## Your Everyday Kit for Deep Cleaning
You do not need an arsenal of expensive or dangerous chemicals to tackle heavy buildup. In fact, a few simple household staples are often far safer for your appliances and much kinder to your lungs.
* Baking Soda: This mild alkaline powder is your best friend in terms of breaking down acidic grease deposits. Its soft, abrasive texture also lifts grime without gouging the surfaces.
* White Vinegar: A gentle household acid, it reacts with baking soda to create a natural foaming action that lifts loosened debris and leaves a streak-free shine.
* Liquid Dish Soap: Designed to break down the surface tension of oils, perfect for soaking greasy mesh filters and stove parts.
* Microfiber Cloths & Non-Abrasive Pads: Soft cloths catch fine particles, and non-scratch pads deliver the gentle scrub you need for delicate enamel and glass.
* A word of quick caution: Don't succumb to the temptation to scrape at your oven glass or enamel walls with razor blades, wire brushes, or steel wool.
Scratches destroy the original coating and make it easier for later grease to set permanently in the grooves.
## A Step-by-Step Way to Restore Your Oven
Restoring an oven is all about letting time do the hard work while you go about your day. Here is a simple, stress-free routine that delivers fantastic results:
### 1. Clear Out the Space
Start by making sure the oven is completely cold and turned off. Slide out all the wire racks, side runners, and baking trays. Grab a soft brush or your vacuum attachment to clear out any loose crumbs resting on the oven floor so you are working on a clear surface.
### 2. Mix and Apply the Paste
In a small bowl, mix half a cup of baking soda with three to four tablespoons of water until you get a spreadable, paste-like consistency. Spread this paste over the entire interior of the oven—walls, floor, and the glass door. Keep the paste clear of heating elements or gas burner igniters. As the paste works on contact with carbonized patches, it will start to turn a light brownish color.
### 3. Let It Sit (The Dwell Time)
This is where the magic happens. Leave the paste undisturbed for at least eight to twelve hours—overnight is ideal. During these hours, the alkaline baking soda slowly softens and breaks apart those tough polymerized fat layers.
### 4. Soak the Racks
While the oven interior is soaking, tackle the wire racks. Lay an old towel at the bottom of your bathtub or laundry sink to protect the surface from scratches. Lay the racks on top, fill the tub with hot water, and add half a cup of dish soap or baking soda. Leave them to soak for two to three hours. The baked-on grease will soften, allowing you to wipe the metal clean with a non-scratch pad with minimal effort.
### 5. Wipe Off & Neutralize
The next morning, remove the dried baking soda paste with a damp microfiber cloth. To catch any stubborn chalky spots left behind, lightly mist the area with white vinegar. The two ingredients will gently fizz up, lifting the final traces of residue. Wipe everything down one last time with a wet cloth, dry it off with a towel, and pop your clean racks back in place.
## Don't Forget the Range Hood and Cooktop
An oven restoration feels incomplete if the rest of your cooking area stays coated in fine grease.
### Range Hood Filters
The metal mesh filters above your stove trap airborne grease every time you fry or boil food. When clogged, your ventilation system loses its efficiency, leaving cooking smells to linger in your home.
Pop the mesh filters out and submerge them in a sink full of hot water mixed with a squirt of dish soap and two tablespoons of baking soda. Let them rest for fifteen minutes, gently brush away the loosened oils with a dish brush, rinse thoroughly under warm water, and let them air-dry completely before reinstalling.
### Glass and Ceramic Stoves
Avoid harsh scouring powders on smooth cooktops, as they create fine scratches that dull the glass over time. Instead, spray the cool glass surface with warm water, dust a light sprinkle of baking soda over the area, and lay a warm, damp towel across it for fifteen minutes. The trapped moisture and heat will soften burnt ring marks, letting you wipe the glass completely clean in smooth, circular motions.
### Keeping Things Fresh
Once your kitchen is glowing again, a couple of small habits will keep it that way without extra effort:
* The Two-Minute Wipe: Once the cooktop cools down after dinner, give it a quick pass with a damp microfiber cloth. Removing fresh droplets takes seconds, but removing baked-on spots weeks later takes hours.
* Use Splatter Guards: A simple mesh splatter screen placed over frying pans catches fine oil droplets before they ever reach your tiles or cooktop.
* Quarterly Filter Washes: Make a mental note to pop your range hood filters into hot, soapy water once every quarter.
## Knowing When to Bring in the Experts
Doing a deep kitchen restoration yourself can be deeply rewarding, but let us be real—it takes time, effort, and a fair bit of patience. If you are preparing for an end-of-lease inspection, juggling a busy work schedule, or dealing with an appliance that has seen years of heavy neglect, doing it all on your own might feel overwhelming.
This is where professional cleaning services come in. Experienced local cleaners use specialized setups that are difficult to replicate at home:
* Decarbonizing Dip Tanks: Professional technicians can completely detach oven doors, racks, and side panels, placing them in dedicated heated dip tanks. This removes years of burnt-on carbon without scratching metal or glass finishes.
* Cleaning Between Door Glass: Dirt often slips down the ventilation slots of oven doors, creating unsightly streaks trapped between the inner and outer glass panels. Professional teams can safely disassemble the door assembly to restore crystal-clear visibility without damaging internal heat seals.
* Deep System Hygiene: Professionals clean behind filters and deep into internal fan housings, restoring air circulation and removing hidden grease pockets that standard home wipes miss.
Under Australian Consumer Law, professional service providers are required to deliver their work with due care, skill, and reasonable diligence. Hiring a reputable, insured local cleaning business means you get to enjoy an immaculate kitchen and total peace of mind—without spending your weekend on your knees scrubbing an oven floor.
## Enjoy Your Restored Kitchen
A clean cooking space changes the entire energy of a home. Food tastes better when you are cooking in a fresh space, appliances run far more efficiently, and you no longer have to worry about smoke setting off the smoke alarm every time you preheat the oven.
Whether you set aside a quiet Sunday to tackle the job yourself with baking soda and vinegar or hand the heavy lifting over to a trusted team of local professionals, taking steps to clear away old grease will leave your kitchen smelling great, looking brilliant, and ready for your next favorite meal.
This article was contributed by a third party. Views are the author’s own and don’t represent an endorsement by BondClean.