The Smart Cleaning Method: How Professionals Clean Bathrooms Faster and Better
By Andrew, Bond Cleaning Logan·
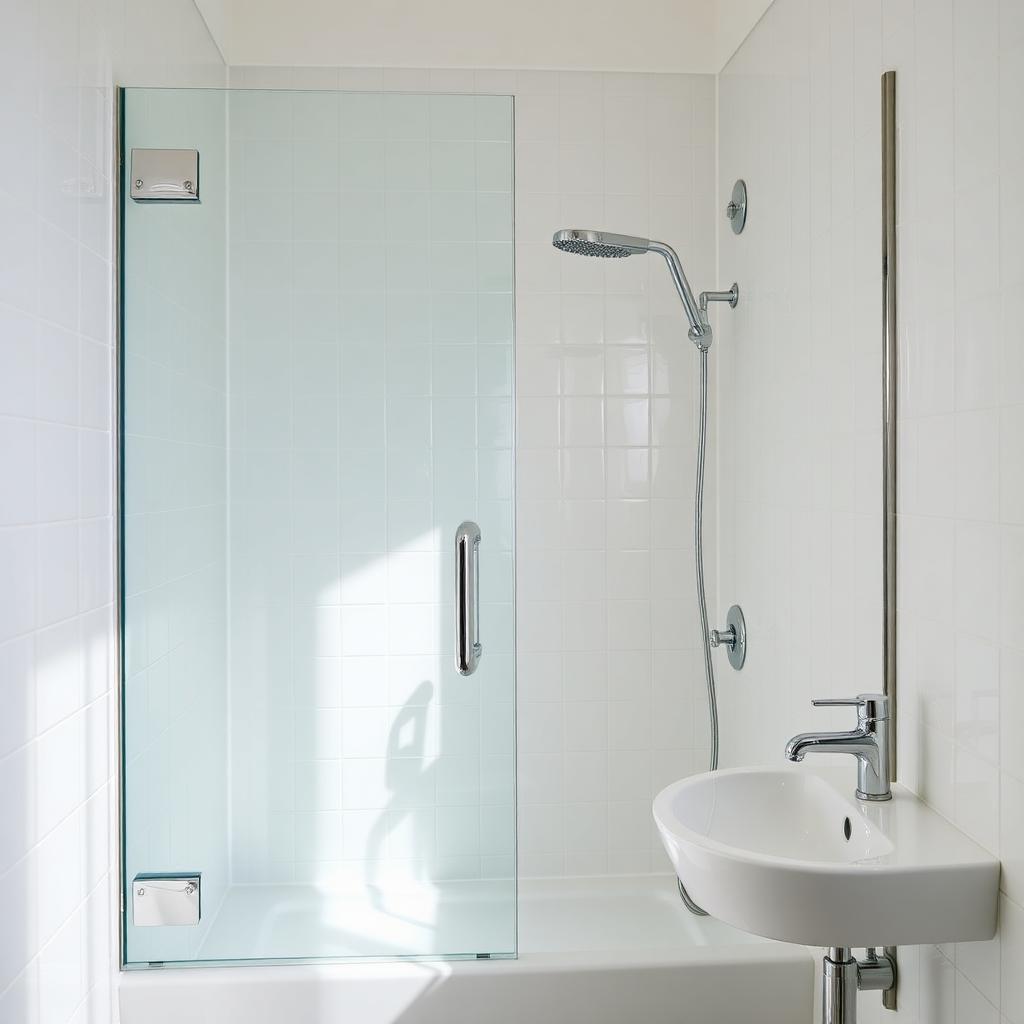
I don't think I've ever met anyone who genuinely looks forward to scrubbing the bathroom. It’s easily one of the most tedious weekend chores. You spend forty minutes wiping down tiles, wrestling with soap scum on the shower screen, and crouching around the base of the toilet—only for the whole place to look used again three days later.
* Here’s the thing, though: professional cleaners aren't using secret magic or working themselves to exhaustion. They don't waste energy on useless scrubbing. They use a simple, repeatable order of operations that relies on smart chemical timing, decent gear, and efficient movement.
Once you adopt the Smart Cleaning Method, you can easily cut your cleaning time in half, protect your taps and tiles, and keep the space fresh with a fraction of the effort.
## The Core Rules of Smart Cleaning
Cleaning efficiently is almost entirely about strategy over muscle. Before you pick up a single spray bottle, keep these three basic rules in mind:
### 1. Give the Spray Time to Work (Dwell Time)
The biggest mistake most people make is spraying a surface and wiping it off three seconds later. Cleaning sprays need time to break down grime, body oils, and mineral buildup. Professionals call this "dwell time," and it usually takes about 5 to 10 minutes. If you let the solution do the heavy lifting while you work on something else, you won't have to wear your arms out scrubbing.
### 2. Work Top to Bottom, Dry to Wet
Gravity is working against you if you clean out of order—dust, hair, and dirty water drop straight down. If you mop the floor or polish the sink basin first, you'll just dirty them again when you wipe the top of the mirror or dust the windowsill. Always finish dry tasks like sweeping before you bring out liquid sprays, and always start high.
### 3. Move in One Continuous Circuit
Jumping back and forth across a room wastes time and spreads dirt around. Pick a starting point near the door and work your way around the bathroom in one smooth, continuous circle. Every surface gets wiped once, thoroughly, in sequence.
## The Few Tools You Actually Need
You really don't need a cupboard packed with twenty different specialty bottles or cheap plastic gadgets. A small set of good-quality basics will handle 95% of the work:
* Color-Coded Microfibre Cloths: Microfibre grabs dirt instead of just smearing it around. Assign different colors to different zones—say, blue for glass, yellow for the basin, and red strictly for the toilet—so you aren't transferring germs around the room.
* A Gentle Scrubbing Sponge: Look for soft-grit or non-scratch pads. They lift soap residue easily without scraping off the finish on acrylic tubs, porcelain, or chrome taps.
* A Good Shower Squeegee: Keeping one hanging in the shower is the single easiest way to stop water spots and limescale from forming on the glass in the first place.
* A Reliable Bathroom Cleaner: Pick a solid multi-surface spray suited to your tiles and benchtops. Under Australian Consumer Law, cleaning products must clearly display ingredients, safety precautions, and surface compatibility, so give the label a quick read before trying a new brand on sensitive stone or tile grout.
## Step-by-Step: The 20-Minute Process
Try this exact sequence next time you tackle the room.
### Step 1: Clear Away Debris and Spray Dwell Areas
Clear the benchtop, shower ledge, and floor of everything. Remove bath mats, towels, etc., from the room. A quick pass over the dry floor will pick up loose hair and dust. Then spray your bathroom cleaner generously inside the shower stall, over the tub, and into the toilet bowl. Get up and leave it alone for a few minutes.
### Step 2: Wipe High Surfaces and Mirrors
While the spray is breaking down grime in the wet zones, tackle the upper half of the room. Dust the top of the medicine cabinet, light fixtures, and exhaust vent. Lightly mist your glass cleaner onto a folded microfibre cloth (spraying directly onto the mirror can seep behind the glass and cause black edges over time) and wipe in a steady S-pattern.
### Step 3: Clean the Counter, Basin, and Taps
Take your chosen bench cloth and wipe down the vanity top and sink basin. Once your chrome taps are clean, buff them for five seconds with a completely dry microfiber towel—it will instantly remove water marks and bring out a bright shine.
### Step 4: Clean the Tub and Shower
Once the cleaner has had a chance to loosen the soap scum, grab your non-scratch sponge and give the shower walls and tub a quick once over. Rinse everything down with warm water and squeegee the glass doors right away so water drops don’t dry to spots.
### Step 5: Use the Toilet
Gather your designated toilet cloth and a disinfectant spray. Wipe the exterior from the top to the bottom (button, lid, seat, and exterior bowl) all the way down to the floor level. Finish up by scrubbing the inside of the bowl with the toilet brush, getting up under the rim, and flushing.
### Step 6: Mop Out
Sweep up any remaining dust on the tile floor, then mop backward out of the bathroom, toward the door. Let the floor dry completely before replacing it with fresh towels and bath mats.
## When to Use a Service
This simple routine makes weekly maintenance easy, but keeping up with wet areas can be difficult if you work long hours, run a busy household or manage a short-term rental.
Bringing in a professional cleaning service every so often is a great way to reset the space. Experienced cleaners have commercial tools and heavy-duty treatments that can lift deep grout staining, clear built-up mineral scale, and ensure the room meets strict real estate inspection standards for end-of-lease moves.
Balancing your own quick weekly routine with a periodic professional deep clean offers a few major perks:
* Protects Your Fixtures: Staying on top of grime prevents permanent etching on natural stone benchtops, cloudy glass corrosion, and mouldy silicone seals.
* Saves Your Weekends: Outsourcing the deep scrubbing gives you back your free time while keeping your home feeling fresh and well-maintained.
* Catches the Missed Spots: Professionals automatically check the spots most of us forget—like cleaning out exhaust fan covers, wiping under the sink pipes, and clearing out shower door tracks.
## Conclusion
You don’t have to spend all weekend scrubbing to keep your bathroom fresh and hygienic. Once you let your cleaning products sit for a few minutes, stick to microfibre cloths, and follow a simple top-to-bottom pattern, the job gets done in a fraction of the time.
Whether you handle the quick weekly resets yourself or book a local cleaning team to handle the heavy deep cleans, having a clear system in place changes everything.
This article was contributed by a third party. Views are the author’s own and don’t represent an endorsement by BondClean.