The Professional DIY Home Cleaning Manual: Safe, Proven Formulas for Every Surface
By Deep, Bond Cleaners Sydney·
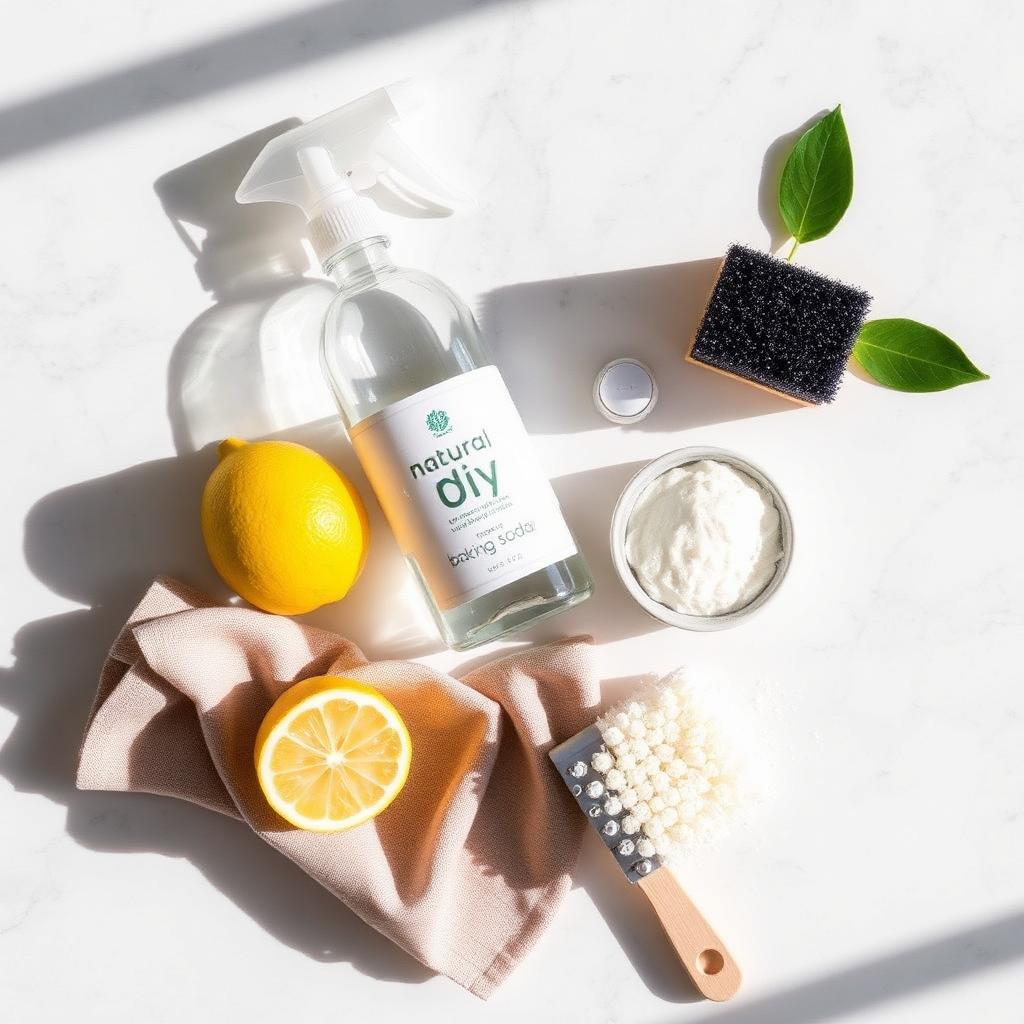
Walk down the cleaning aisle at Bunnings or your local Woollies, and it’s easy to feel overwhelmed. There are rows of plastic bottles claiming to fix everything from burnt stovetops to bathroom soap scum. But buying a different spray for every single job gets ridiculously expensive—and half the time, they’re packed with harsh fumes you don't really want floating around your living room.
The truth is, you don’t need a cupboard full of commercial chemicals to keep your place looking immaculate. A few cheap pantry staples are usually all it takes to handle everyday spills, dust, and grime.
The catch? You have to know what you’re doing with different materials. One bad call—like splashing vinegar on a stone benchtop or soaking your timber floors—can permanently ruin expensive finishes.
Here is a straightforward guide to safe, DIY mixtures you can whip up at home, along with an honest look at where DIY works best and when it pays to bring in a professional team.
## 1. Natural Stone: Granite, Marble, and Engineered Quartz
Stone benchtops add a gorgeous, high-end feel to kitchens and bathrooms, but natural materials like marble, limestone, and granite are surprisingly delicate.
### What Could Go Wrong?
The single biggest mistake people make with stone is using vinegar or lemon juice. Acid is stone's absolute worst enemy. It eats straight into the calcium carbonate, leaving behind dull, cloudy patches (known as etching) that you can't just wipe away. Even diluted acidic sprays will strip off the protective sealer over time.
### The Safe DIY Recipe: Daily Stone Spray
* 1/4 cup isopropyl alcohol (rubbing alcohol)
* 3 drops of mild, pH-neutral dish soap
* 1.5 cups warm water (distilled works best)
* Optional: 3 to 5 drops of lavender or eucalyptus essential oil
* How to Use It: Pour everything into a clean spray bottle and give it a quick swirl. Lightly mist your benchtop, then wipe it down with a clean microfiber cloth. If you want a streak-free shine, follow up with a dry cloth to buff the surface.
## 2. Timber Surfaces: Hardwood Floors and Furniture
Solid wood and engineered timber floors look fantastic, but keeping them clean is all about controlling moisture and avoiding harsh detergents.
### What Could Go Wrong?
Water and wood do not get along. If you mop with a dripping bucket, water seeps into the joints between boards. Over time, that leads to swelling, cupping, and cloudy finishes. On top of that, strong alkaline cleaners will slowly eat away at the protective wax or polyurethane coat.
### The Safe DIY Recipe: Gentle Timber Maintenance Mix
* 2 cups warm water
* 1 tablespoon liquid castile soap (or a mild dish soap)
* 1/2 teaspoon pure jojoba or mineral oil (great for wood furniture)
* How to Use It: Spray the cleaner lightly onto your microfiber mop pad rather than soaking the floor itself. Mop gently, following the grain of the wood. For timber tables or furniture, put a small amount on a soft cloth, work it over the wood, and dry it off immediately.
## 3. Glass, Mirrors, and Windows
Getting glass clean without annoying streaks isn't hard; you just need something that cuts through fingerprints without leaving a soapy film.
### The Safe DIY Recipe: Streak-Free Glass Cleaner
* 1 cup white distilled vinegar (swap for rubbing alcohol if you have tinted windows)
* 1 cup water
* 1 tablespoon cornstarch
* How to Use It: Shake the bottle really well until the cornstarch dissolves completely. It sounds strange, but cornstarch breaks up the water tension on the glass, which stops streaks from forming as it dries. Spray a fine mist over the glass and wipe it clean with a microfiber cloth or a rubber squeegee.
## 4. Tiles, Grout, and Bathroom Fixtures
Porcelain and ceramic tiles can take a beating, but the cement grout running between them acts like a sponge for dirt, body oils, and hard water.
### The Safe DIY Recipe: Grout Deep-Cleaning Paste
* 1/2 cup baking soda
* 1/4 cup hydrogen peroxide (3% strength)
* 1 tablespoon dish soap
* How to Use: Combine all ingredients into a thick paste and spread on your grout lines with an old toothbrush. Let it sit for about 10 minutes so the peroxide can work on the dirt. Scrub gently, wipe away the paste with a damp cloth, and rinse with clean water.
## Finding the Balance: DIY Care vs. Professional Cleaners
Mixing your own cleaners is satisfying. It keeps daily mess under control, cuts down on waste, saves money, and puts you in complete control of what chemicals are around your kids or pets.
That said, every home hits a wall where standard DIY maintenance isn't quite enough. Over months and years, life just happens. Dust works its way deep into carpet fibers, mineral scale bakes onto shower glass, grease collects in rangehood vents, and dirt settles deep into floor grout.
The smartest approach is using simple DIY habits for your weekly routine, paired with periodic professional deep cleaning.
## When to Call in a Professional Cleaning Service
* End-of-Lease & Heavy Restorations: Getting a property up to strict real estate bond standards usually takes commercial steam extractors, heavy-duty neutralizers, and professional equipment that isn't worth buying yourself.
* Upholstery and Delicate Fabrics: If they get too wet, couches, armchairs, and curtains can shrink, stain, or bleed color. Specialists safely handle delicate fibers with specialized low-moisture systems.
* Carpet Extraction & Grout Cleaning: Regular vacuums and mops only clean the surface. High-pressure hot water extraction goes deep down into the carpet pile and the porous grout to extract oils, dust mites, and allergens that have settled deep down.
* High-Value Surface Protection: Cleaning teams with specialized knowledge and public liability insurance. If you have expensive stone, high-end carpeting, or delicate timber, letting an expert do the heavy lifting removes the risk of costly mistakes.
## A Practical Schedule That Works
* Weekly Routine: Stick to your simple homemade sprays for wiping kitchen benches, cleaning mirrors, and keeping floors swept.
* Monthly Focus: Pick one spot to tackle a bit deeper—like cleaning behind appliances, wiping skirting boards, or scrubbing the shower track.
* Twice a year: Get the pros to do the heavy lifting—deep steam-clean carpets, strip floor grout, wash exterior windows, and get up into the high places.
By balancing steady DIY care with periodic professional attention, you keep your home looking great every day while protecting the long-term value of your property.
## Some Basic Rules of Safety
Even natural home-made mixtures require careful handling:
* Always test: Before applying a new mixture all over, test a small amount on an out-of-sight corner to check that it does not discolor the surface.
* Keep Air Moving: If you are cleaning enclosed spaces such as small en suites, open a window or switch on the fan.
* Label Your Spray Bottles: Always label your bottles clearly so you know what’s inside, and keep them out of reach of kids and pets.
* Do not mix bleach with acids: Do not mix bleach with vinegar, ammonia, or acid cleaners. Their combination creates toxic, dangerous fumes.
* Note: Always follow the proper handling of the product and local council rules for disposal of waste in accordance with Australian Consumer Law and basic chemical safety standards. If you have dangerous contamination or serious mold problems, you should consult a licensed professional.
This article was contributed by a third party. Views are the author’s own and don’t represent an endorsement by BondClean.