The 24-Hour Move-Out Cleaning Survival Guide for Overwhelmed Tenants
By Nav Kaur, Bond Cleaners Sydney·
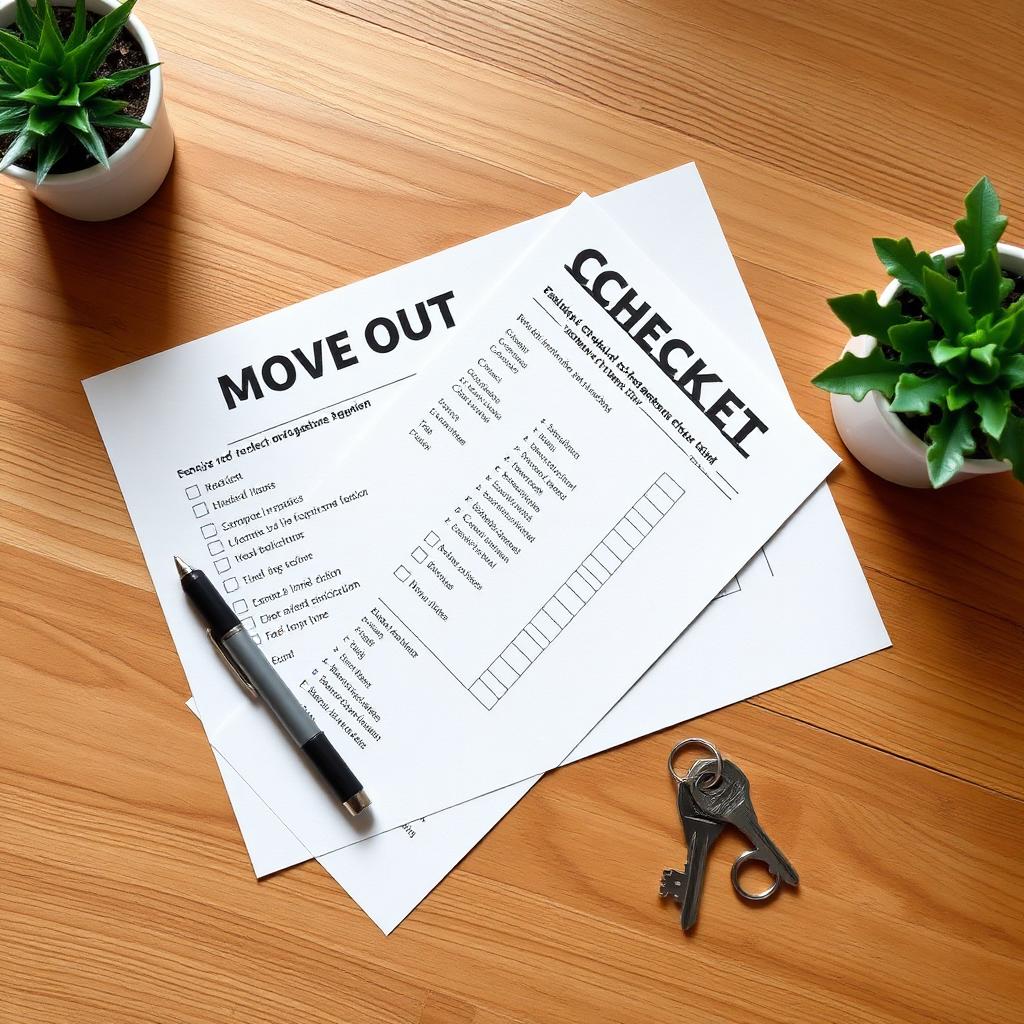
Moving out of a rental is exhausting. Between packing up your life, arranging removalists, and trying to remember which box holds the kettle, time vanishes. Before you know it, you have 24 hours until key handover, and the place still looks lived-in.
Under Australian tenancy laws across NSW, Victoria, Queensland, and the other states, you only need to return the property in a "reasonably clean" state, allowing for fair wear and tear. The issue is that "reasonably clean" to a property manager often means pristine. If your agent finds greasy oven glass or dirty window tracks during the final walkthrough, they will hold back funds from your deposit to hire a commercial cleaner.
If you are down to your final day, panic scrubbing won't work. You need a fast, practical plan to tackle the big-ticket items, reclaim your deposit, and hand over the keys without collapsing.
## Phase 1: Clear the Floors First (Hours 0 – 2)
Never try to clean around furniture or half-packed boxes. It doubles your workload and drags out the process.
* Dump all remaining boxes, bags, and loose items in the garage, on the balcony, or in one corner of the living room.
* Put all your gear in a single caddy or bucket. You need microfiber cloths, scrub sponges, sugar soap, glass cleaner, a solid multi-purpose spray, a vacuum, a mop, and heavy-duty bin bags.
* Open the windows and turn on every light. Good lighting exposes hidden dust, and fresh air keeps chemical fumes down.
## Phase 2: The Kitchen (Hours 2 – 7)
Property managers inspect kitchens harder than any other room. Baked-on grease and dirty ovens cause more deposit disputes in Australia than almost anything else.
* Spray down the oven interior with a strong oven cleaner first thing. Let it sit for an hour while you work elsewhere. Come back later to wipe out the grime, scrub the wire racks, and clean the glass door.
* Pull out the mesh range hood filters and submerge them in hot water with grease-cutting dish soap.
* Vacuum out the crumbs inside cupboards and drawers before wiping down the shelves, handles, and outer cabinet doors.
Clean out the sink basin, polish the taps, and clear food scraps from the drain.
## Phase 3: Bathrooms & Laundry (Hours 7 – 11)
* Inspectors immediately see soap scum, loose hairs, and mold spots.
* Spray tile walls and glass shower screens with a soap scum remover. Squeegee the glass dry, then polish it with a microfiber cloth for a streak-free finish.
* Take a stiff brush to the grout lines, especially along the bottom edge of the shower walls where soap builds up fast.
* Scrub the toilet inside the bowl, behind the seat hinges, around the base, and over the flush buttons.
* Wipe out the vanity drawers, clean toothpaste splatters off the taps, and shine the mirror.
* Clean out the laundry tub and lint from the dryer vents and taps on the washing machine.
## Phase 4: Bedrooms, Living Areas & Walls (Hours 11 – 17)
Work from the ceiling down to the floor in dry areas so falling dust lands on surfaces you haven't touched yet.
* Knock down cobwebs in ceiling corners. Wipe dust off light fittings, wall switches, and ceiling fan blades.
* Wipe dust and fingerprints from skirting boards, door frames, and door handles with a damp cloth.
* Spot-clean walls using warm water and sugar soap on obvious scuffs, splatters, or handprints. Don't scrub too hard, or you will strip the paint.
* Clean interior window glass, dust the sills, and vacuum out the dirt and dead bugs stuck in the window tracks.
## Phase 5: Floors & Outdoor Spaces (Hours 17 – 20)
* Leave the floors until last so you don’t walk dirt over clean surfaces again.
* Vacuum all carpets, built-in wardrobe floors, rugs, and skirtings.
* Mop hard floors with a well-wrung mop and clean water. Let them dry completely before walking over them again.
* Sweep outdoor balconies, clear cobwebs around the entryways, and scrub any fresh oil spots off the garage floor.
## Phase 6: Self-Examination (Hours 20–24)
Take a bright torch and walk through the empty home to check it out as an agent would.
* Run your hand along the top of doors and internal shelves.
* Look at the oven glass from an angle to check for remaining oil residue.
* Make sure every last rubbish bag is loaded into your car or bins.
* Take clear photos and videos of every room as evidence before handing back your keys.
## When It Makes Sense to Hire Professionals
Cleaning an entire rental in 24 hours on zero sleep is brutal work. Doing it yourself works if you have the energy, but if you miss items on the agent's checklist, they can hold up your deposit or hire a cleaner at your expense anyway.
Many renters choose to hand the job off to professional end-of-tenancy cleaners instead:
* Re-clean Service: Established end-of-tenancy cleaning services know local real estate standards. If your property manager flags any cleaning issues during the inspection, the team returns to re-clean those spots.
* Saves Time: You can focus on moving into your new home instead of pulling an all-nighter with a scrub brush.
* Commercial Equipment: Professional teams bring commercial steam extractors, industrial degreasers, and tools that strip away years of grime in a few hours.
## Get Your Deposit Back Without the Headache
If you are running out of time, exhausted from packing, or simply want to ensure your deposit lands safely back in your bank account, you don't have to do it alone.
Contact our expert cleaning team today for a fast, no-obligation quote. We use standard Australian real estate inspection checklists to help you hand over your keys with confidence.
This article was contributed by a third party. Views are the author’s own and don’t represent an endorsement by BondClean.